Providing inputs in DI 🎁
When working with Angular, we often find ourselves in situations where we need to pass data from a parent component to a child component. This is usually done using @Input properties. However, as the application grows, we might find ourselves in a situation where we have to pass the same data through multiple levels of components. This is known as prop drilling and can make our code harder to maintain and understand.
In this article we will see how we can use the new Signal Inputs and Dependency Injection to provide inputs to components without having to pass them through multiple levels of components.
Before Signal Inputs
Let's start by looking at an example of how we would pass data from a parent component to a child component using @Input properties.
@Component({
  template: `<app-child [data]="data" />`,
})
export class ParentComponent {
  @Input() data: string;
}

@Component({
  template: `<app-inner-child [data]="data" />`,
})
export class ChildComponent {
  @Input() data: string;
}

@Component({
  template: `{{ data }}`,
})
export class InnerChildComponent {
  @Input() data: string;
}
In this example, we have a ParentComponent that passes data to a ChildComponent, which in turn passes the data to an InnerChildComponent. This is a simple example.
In order to solve this problem, we have used what we call services.
So, it will look something like this:
@Injectable()
export class DataService {
  data: string;

  setData(data: string) {
    this.data = data;
  }
}

@Component({
  template: `<app-child />`,
  providers: [DataService],
})
export class ParentComponent {
  dataService = inject(DataService);

  // using ngOnChanges to update the data in the service
  @Input() data: string;

  ngOnChanges(changes: SimpleChanges) {
    if (changes.data) {
      this.dataService.setData(this.data);
    }
  }

  // or using a setter
  @Input() set data(value: string) {
    this.dataService.setData(value);
  }
}

@Component({
  template: `<app-inner-child />`,
})
export class ChildComponent {
  // no need to inject the service here as we don't need it here
}

@Component({
  template: `{{ dataService.data }}`,
})
export class InnerChildComponent {
  dataService = inject(DataService);
}
This works great, until we need to convert our components to use OnPush change detection strategy.
Because we are not using @Inputs(), Angular cannot check if the data has changed and will not update the view (if the event didn't come from the child component itself).
To solve this we have relied on rxjs BehaviorSubject. Why? Because we can subscribe to it and get the latest value whenever it changes and subscribe to changes using async pipe which will trigger markForCheck under the hood that lets Angular know that this component's data has changed.
@Injectable()
export class DataService {
  private readonly data = new BehaviorSubject<string>("");
  readonly data$ = this.data.asObservable();

  setData(data: string) {
    this.data.next(data);
  }
}

@Component({
  template: `{{ dataService.data$ | async }}`,
})
export class InnerChildComponent {
  dataService = inject(DataService);
}
One other way to solve this would be to inject the parent component itself into the child component and access the data directly.
@Component({
  template: `{{ parentComponent.data }}`,
})
export class InnerChildComponent {
  parentComponent = inject(ParentComponent);
}
This is great until you start to hit circular dependency issues.
Signal Inputs approach
In order to benefit from Angular enhanced change detection (read more here A change detection, zone.js, zoneless, local change detection, and signals story 📚), we can use the new Signal Inputs feature.
@Component({
  template: `<app-child />`,
})
export class ParentComponent {
  data = input<string>();
}

@Component({
  template: `{{ parentComponent.data() }}`,
})
export class InnerChildComponent {
  parentComponent = inject(ParentComponent);
}
This is the same as the previous example, but we are using signals instead of normal properties. This will still be affected by circular dependency issues.
What we can do is to have an InjectionToken which can be used to provide this component input in the DI tree.
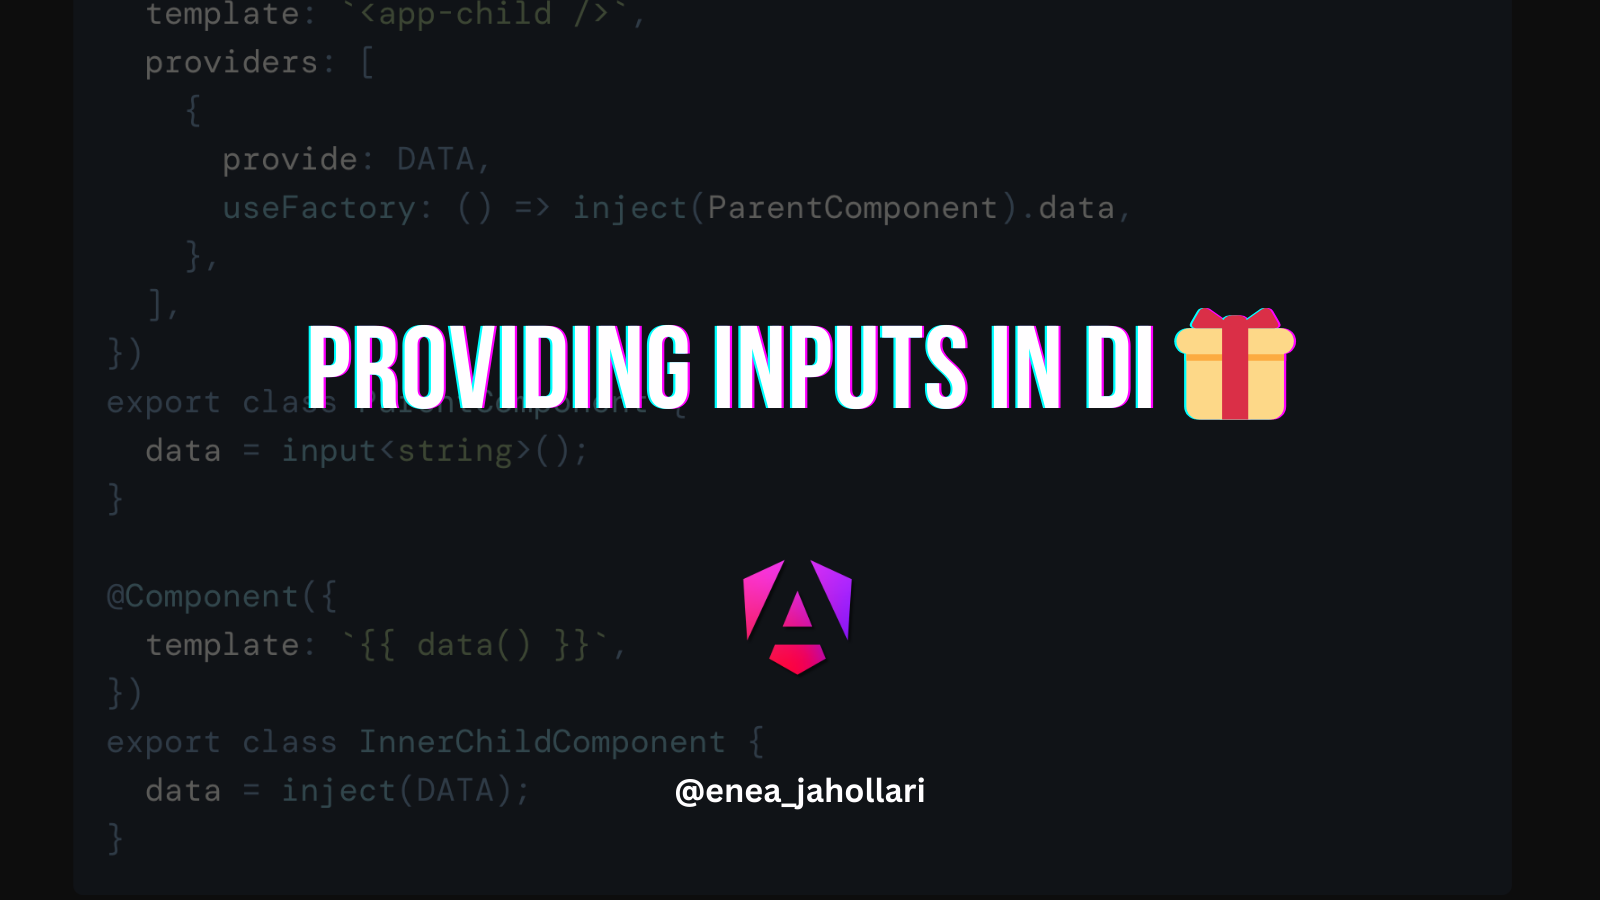
export const DATA = new InjectionToken<Signal<string>>("DATA");

@Component({
  template: `<app-child />`,
  providers: [
    {
      provide: DATA,
      useFactory: () => inject(ParentComponent).data,
    },
  ],
})
export class ParentComponent {
  data = input<string>();
}

@Component({
  template: `{{ data() }}`,
})
export class InnerChildComponent {
  data = inject(DATA);
}
Let's break down the code above:
We have created an
InjectionTokencalledDATAthat will hold the signal for the data. Note that it's aSignal<string>and not juststringbecause we want to be able to read it only where we need it.We have provided the
DATAtoken in theParentComponent'sprovidersarray. We are using theuseFactoryproperty because it allows us to inject theParentComponentand get thedatasignal from it.We are not calling the
datasignal directly in theuseFactoryfunction because we want to be able to read it only where we need it and not have it in the DI tree.We have injected the
DATAtoken in theInnerChildComponentand assigned it to thedataproperty. And now we can read thedatasignal in the template.
This way we can provide inputs to components without having to pass them through multiple levels of components and without having to rely on services or BehaviorSubjects.
Also, this is 100% compatible with OnPush change detection strategy, because we are using signals, which are part of the new Angular change detection system and will trigger change detection when the signal changes.
It is also compatible with Zoneless Angular, because signals are part of the new Angular change detection system and do not rely on Zone.js.
This is a great way to remove prop drilling from your Angular applications and make your code more maintainable and easier to understand.
One more thing
We can also read the token in the services provided in the same component or child components.
@Injectable()
export class DataService {
  data = inject(DATA); // data is a signal here

  constructor() {
    effect(() => {
      console.log(this.data()); // use data() to make API calls maybe?
    });
  }
}

@Component({
  template: `<app-child />`,
  providers: [
    {
      provide: DATA,
      useFactory: () => inject(ParentComponent).data,
    },
    DataService, // <- provide the service here
  ],
})
export class ParentComponent {
  data = input<string>();
}
Use one token for multiple signal inputs or other signals
If you have multiple inputs that you want to provide to a component, you can use a single token and provide an object with multiple signals.
export const INPUTS = new InjectionToken<{
  data: Signal<string>;
  options: Signal<Record<string, string>>;
}>("INPUTS");

@Component({
  template: `<app-child />`,
  providers: [
    {
      provide: INPUTS,
      useFactory: () => {
        const cmp = inject(ParentComponent);
        return {
          data: cmp.data,
          options: cmp.options,
          count: cmp.someNormalSignal,
        };
      },
    },
  ],
})
export class ParentComponent {
  data = input<string>();
  options = input<Record<string, string>>();

  count = signal<number>();
}
Hope this helps you to remove prop drilling from your Angular applications and make your code more maintainable and easier to understand. 🚀
Thanks for reading!
If this article was interesting and useful to you, and you want to learn more about Angular, support me by buying me a coffee ☕️ or follow me on X (formerly Twitter) @Enea_Jahollari where I tweet and blog a lot about Angular latest news, signals, videos, podcasts, updates, RFCs, pull requests and so much more. 💎